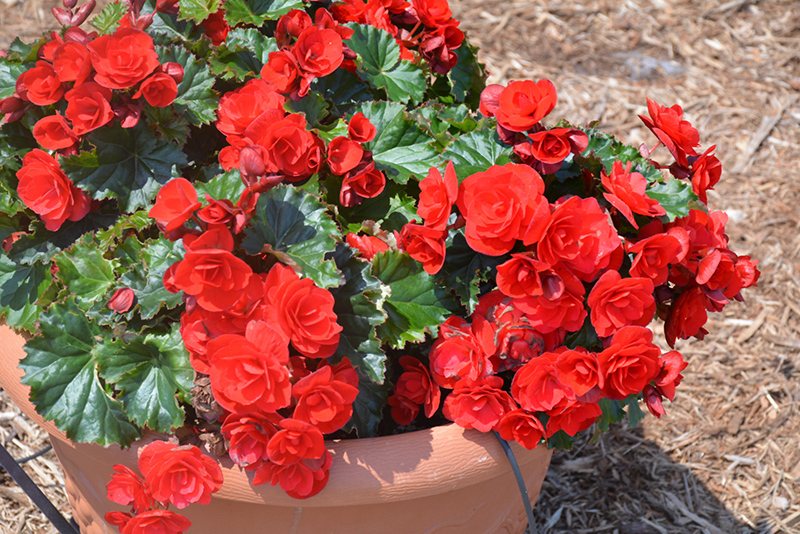
Rieger Begonia is known for its soft and beautiful blooms, which are available in many shades of color such as pink, bright yellow, red and white. It is a winter flowering plant as it needs a cold temperature to grow and bloom. But if you grow them by controlling the growing conditions of them properly, you can have them growing year-round also. Most commonly Rieger Begonias are grown as houseplants by people to embellish their home with the delicate and fragrant petals of it. Growing Rieger Begonia plants from seeds has a different procedure and it requires patience and more care.
Procedure to start growing Rieger Begonia from seeds
To grow Rieger Begonia from seeds, you need to know the right procedure to grow them so that they bloom successfully. Starting with that, the first thing to keep in mind is that Rieger Begonia seeds are very small and it is difficult to handle them. To make your tedious work easy you can use pelleted seeds instead.
Step 1: Sow seeds in a tray
The first step to plant a Begonia is to save the seeds from fungal diseases as these plants are prone to develop such diseases. For that; use new, disinfected or thoroughly washed seed trays or flat containers. The next thing you need is new sterile potting soil to sow your seeds into it.
Now that your seed tray is ready with sterile potting mix, start planting the Begonia seeds. Begonias need indirect light to germinate. Direct sunlight might burns their leaves. So, choose a cooler place where it remains dark during the nights and it gets slight sunlight during the daytimes. For example, near a window or any suitable place which meets the requirements.
Press the seeds to the surface of the potting mix so that the seeds get inside the soil. You can either do it with your fingertips or take the help of any flat thing to push the seeds. Do not cover the seeds with soil after pressing them to the surface. Try not to place the seeds too close to one another and spread them evenly so that when they grow they can be separated easily, as Begonia needs to be transplanted when they are small and in the initial stage of growing.
Now water the soil sparsely with a spray bottle or just sprinkle some water over it just to dampen the soil. Our purpose is to provide minerals and not to let the seeds get displaced and float in water. Now it is time to cover the soil mix with a thin sheet of plastic and then place the tray on the spot you have chosen.
Keep checking from time to time whether the soil is damp enough or not and add water accordingly so that the soil does not get dry. When the seeds start to germinate, remove the plastic sheet and increase the amount of sunlight it gets.
Step 2: Transplant them to a pot
When the seedlings get their first true leaves, it is the right time to transplant them using a spoon or any other tool by shifting them to a pot or a hanging baskey. Before shifting, separate each apart. Once you have planted it in a pot, water it well and slowly increase the amount of sunlight they get with their growth.
That’s it. You should soon start seeing broad and glossy leaves and showy blooms.